The Solo Screening: A Step-by-Step Guide to Checking Yourself for Head Lice
Performing a thorough self-check for head lice is a challenge that requires patience, stamina, and the right technique. Because you cannot easily see the back of your own scalp, you must rely on a systematic combing method to ensure no area is overlooked. While it takes effort to overcome tricky angles and arm fatigue, following a professional protocol will give you the most accurate results possible.
If the process feels overwhelming, you can always skip the DIY hassle and visit a Lice Charmers clinic near you for a guaranteed professional screening.
Step 1: Preparation and Setup
Success begins with a proper environment. Set yourself up in a room with bright, natural light or strong overhead lighting in front of a large mirror. Since a thorough check can take some time, many people find it helpful to put on a podcast or music to help maintain focus.
- Detangle First: Use a standard brush or wide-tooth comb to remove every single knot. If you have tight curls or ringlets, temporarily straightening your hair with a flat iron can significantly speed up the process.
- Lubricate: Coat your hair and scalp generously with oil (coconut, olive, or mineral oil all work well). This immobilizes any active lice and allows the fine-toothed comb to glide without pulling.
- Tool Ready: Ensure your professional lice comb is perfectly clean. Have a stack of white paper towels ready; these act as your “background” to inspect anything the comb retrieves.
Step 2: Targeting the “High-Traffic” Zones
Lice gravitate toward the warmest parts of the head. Start your self-check in these specific areas first:
- The Temples: These are the easiest to reach and a common hiding spot.
- Behind the Ears: Tilt your head to the side to gain better access, detangling again if the hair shifts.
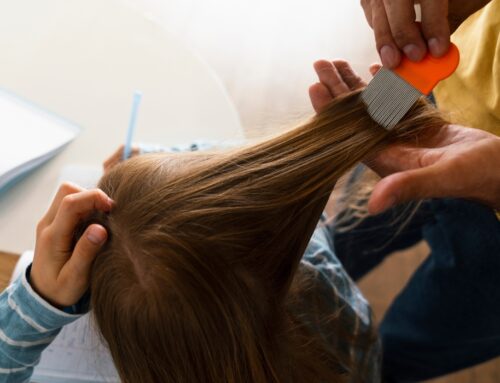
- The Nape of the Neck: The best way to reach this area is to flip your hair forward and comb from the base of the skull toward the floor.
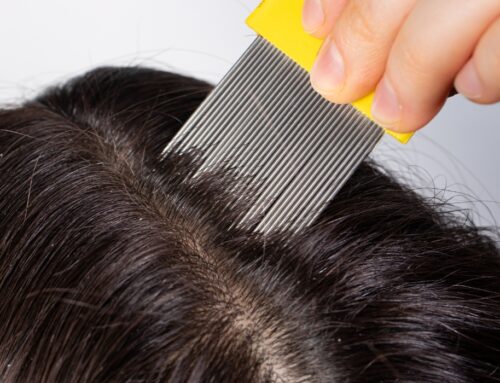
The Technique: Hold the comb at a 45-degree angle against the scalp. Glide it firmly along the skin for an inch or two, then pull all the way through to the ends. You are aiming to “scoop” bugs off the skin and trap nits located within 1/4″ of the scalp.
Step 3: The Full-Head Sweep
After checking the hotspots, you must screen the “in-between” areas. To do this effectively on yourself, use the Side-to-Side Method:
- Lean your head deeply to one side so all your hair hangs toward one shoulder.
- Starting at the ear pointing upward, comb straight across the “dome” of your head to the other side.
- Use consistent momentum to pull the comb through to the very ends of the hair.
- Wipe the comb onto a white paper towel after every single swipe to inspect for tan, teardrop-shaped nits or brownish bugs.
- Once you have covered the entire head in one direction, flip your hair to the opposite side and repeat the process in the other direction.
Evaluating Your Results
If you have methodically combed through every section of your scalp in multiple directions and your paper towels remain clear of any suspicious debris, you can breathe a sigh of relief. You have successfully completed a professional-level self-screening!
Did you find something but aren’t sure what it is? Don’t guess. Bring your findings or your photo to Lice Charmers for an expert second opinion to ensure your home remains a lice-free zone.
Learn about: Lice Check Best Practices